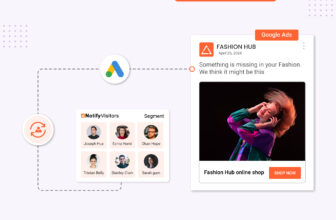
In this recipe, we’ll explore the process of crafting personalized campaigns, such as emails, SMS, etc., for the leads gathered on Facebook. While utilizing Facebook advertising to target leads is an option, but why limit yourself to one option when you can implement diverse campaigns tailored to each user?
To begin targeting leads, it’s essential to first capture them on Facebook through a lead ad campaign. During this campaign, you can acquire customer data using Facebook’s built-in instant form, Messenger, or Instagram direct messages. When setting up an ad campaign for your Facebook page, you’ll have the choice to select an audience list to store your leads’ data. This could involve maintaining a unified audience list for all sources or creating separate lists for instant forms, Messenger, and Instagram.
Table of Contents
Connect Facebook page to sync leads
After successfully running a lead ad campaign and gathering leads within your Facebook audience list, you can seamlessly sync these leads with NotifyVisitors segments. Kindly follow our guide “Collect Facebook leads in NotifyVisitors segments.” to sync your lead form with a NotifyVisitors segment. With this guide you can sync any type of lead form – whether it’s an instant form, messenger, or Instagram form of meta.

It’s important to note that you can only select one form at a time. If you wish to add multiple forms, you’ll need to create separate lead connections for each form. However, you can opt for the same NotifyVisitors segment for all forms if you want to target these leads collectively. Alternatively, choose separate segments if you prefer sending different campaigns to leads gathered from various forms.
Once your form is connected, whenever a lead is captured on Facebook, it will automatically be added to your designated NotifyVisitors segment. This enables you to launch personalized campaigns directly to your captured audience.
Send personalized campaign
To execute a personalized campaign for your users, you must consider three key elements:
- User attributes (automatically collected by our system without the need for manual intervention),
- Segments (grouping users based on similar attributes and properties), and
- Campaigns (targeting specific segments with personalized offers).
1. Collect user attributes
Whenever a user submits your Facebook lead form, all the details, along with related attributes from the form, will be seamlessly synchronized with NotifyVisitors. As an illustration, suppose your lead form includes a field titled “Preferences” with options for household items and electronics.

As users submit the form, some may opt for household items, while others choose electronics. When these users are synchronized with NotifyVisitors segments, the system will retain these attributes, indicating individual preferences such as whether a person prefers household items or electronics.

This process allows you to gather diverse user information by incorporating specific fields in your form, and our system adeptly captures and stores this data. Leveraging this information, you can then create and send personalized campaigns tailored to the unique preferences of each user.
2. Create segments
Using the scenario of preferences for electronics and household items, let’s now craft a personalized campaign. To begin, we need to create a segment for users with a common preference, such as a distinct segment for users who favor electronics.
To achieve this, navigate to the “Segments” section and click on “Create New Segment.” Choose “Action with User Properties,” triggering the segment creation interface. Next, click on “Add User Property.” Under attributes, select “Platform,” set the condition to “Include,” and choose “Facebook” as the value from the dropdown. This ensures that the segment exclusively comprises users gathered from Facebook.
Now, add another condition with the attribute set as “Preferences” and the value as “Electronics.” This ensures that, among users gathered from Facebook, only those with electronics as their preference will be included. Finally, check the “Precomputed” option to automatically update your segments and click on “Create.”

Likewise, you can generate segments for any user attribute using a similar process.
3. Send personalized campaigns
After creating your segment, you can initiate personalized campaigns. For instance, in the scenario mentioned earlier regarding preferences, you could send targeted promotions for electronics, such as discounts, buy one get one offers, coupon codes, and more.
Refer to our dedicated campaign guides for step-by-step instructions on creating campaigns. During the campaign setup, choose the segment you created in the preceding step, incorporate your offers, and proceed to send the campaign.
Send real-time personalized campaigns
Moreover, you have the capability to implement real-time personalized campaigns through the creation of automated journeys tailored to these segments. To achieve this, follow these steps:
1. Choose entry in segments as trigger: Begin by choosing the entry into segments as the trigger for your automated journey. This involves selecting the specific segment where the leads from your form are being added. Consequently, any user added to this segment will automatically enter the journey.
2. Send personalized campaigns at regular intervals to nurture them: Following the segment trigger, incorporate blocks of campaigns, such as email or SMS, into your automated journey. Specify the time intervals for sending these campaigns.
As a result, when a user submits a form, they will be seamlessly added to a segment in NotifyVisitors, and subsequently receive campaigns at intervals predetermined by you, all automated.
For instance, envision setting up a journey where, upon a user entering a particular segment, an automated email containing a discount coupon for electronics is instantly dispatched. If the user hasn’t utilized the code, an additional reminder email could be automatically sent after a specified 3-day interval.

📝 Note:
In this image, we utilized the segment directly chosen for lead form synchronization and incorporated a user attribute block.
Alternatively, you have the option to use a distinct segment based on user attributes, as mentioned above in the “create segments” section. In case you adopt this approach, you can skip the addition of a user attribute block, and the rest of the journey will remain entirely the same.
Explore more details about our automated journeys by clicking here.
Conclusion
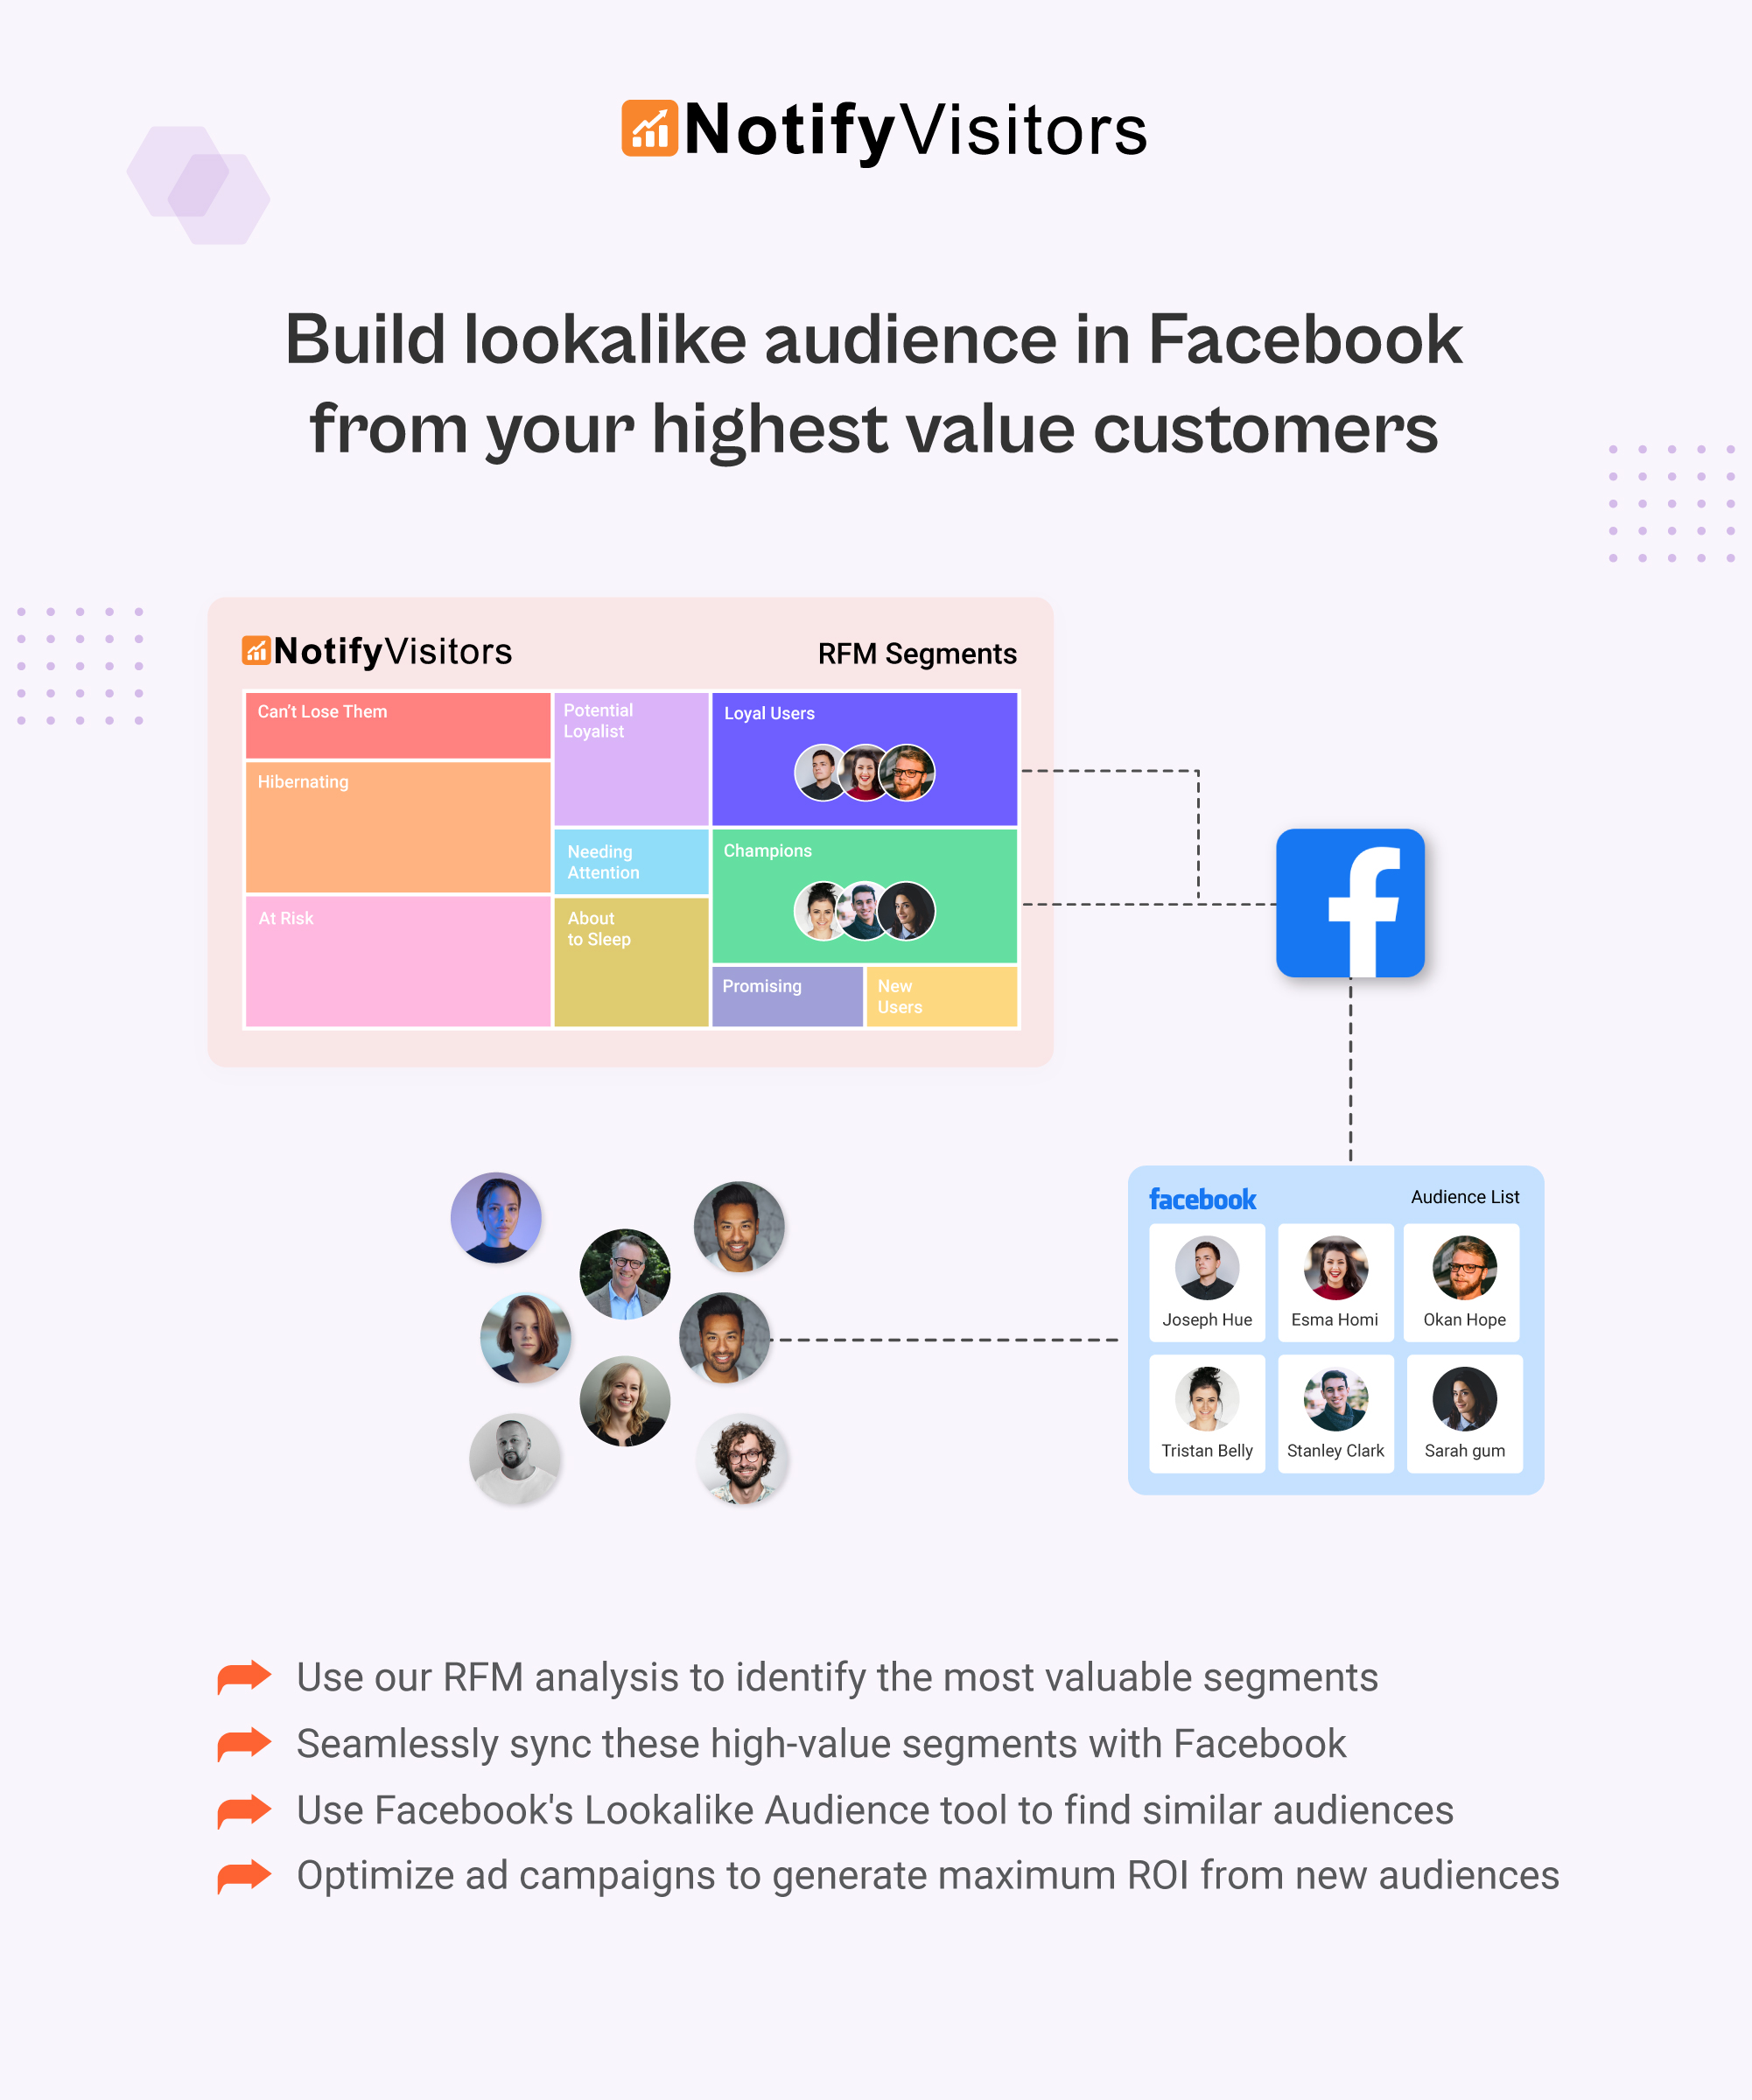
This recipe provides you with the tools to craft highly personalized campaigns, for various communication channels such as email, SMS, push notifications, and WhatsApp messages. Through the leverage of synchronizing leads collected from Facebook, you gain a versatile array of targeting options to enhance your brand outreach and engagement.
On a parallel note, if you are interested in tailoring Facebook ads specifically for your existing user base within NotifyVisitors, we invite you to delve into our detailed guide “Sync NotifyVisitors segments with Facebook audience” tailored specifically for this purpose.

 Email
Email SMS
SMS Whatsapp
 Web Push
 App Push
 Popups
 Channel A/B Testing
  Control groups Analysis
 Frequency Capping
 Funnel Analysis
 Cohort Analysis
 RFM Analysis
 Signup Forms
 Surveys
 NPS
NPS Landing pages personalization
  Website A/B Testing
  PWA/TWA
 Heatmaps
 Session Recording
 Wix
Wix Shopify
 Magento
 Woocommerce
 eCommerce D2C
  Mutual Funds
 Insurance
 Lending
  Recipes
  Product Updates
 App Marketplace
 Academy


